Contents
- Choosing the Right Fish Finder for Your Kayak
- Gathering the Necessary Tools and Materials
- Locating the Ideal Position for Mounting
- Preparing the Mounting Surface
- Drilling Holes for the Mounting Brackets
- Attaching the Mounting Brackets and Arms
- Installing the Fish Finder
- Routing and Concealing the Wiring
- Testing the Fish Finder Setup
- Tips and Precautions
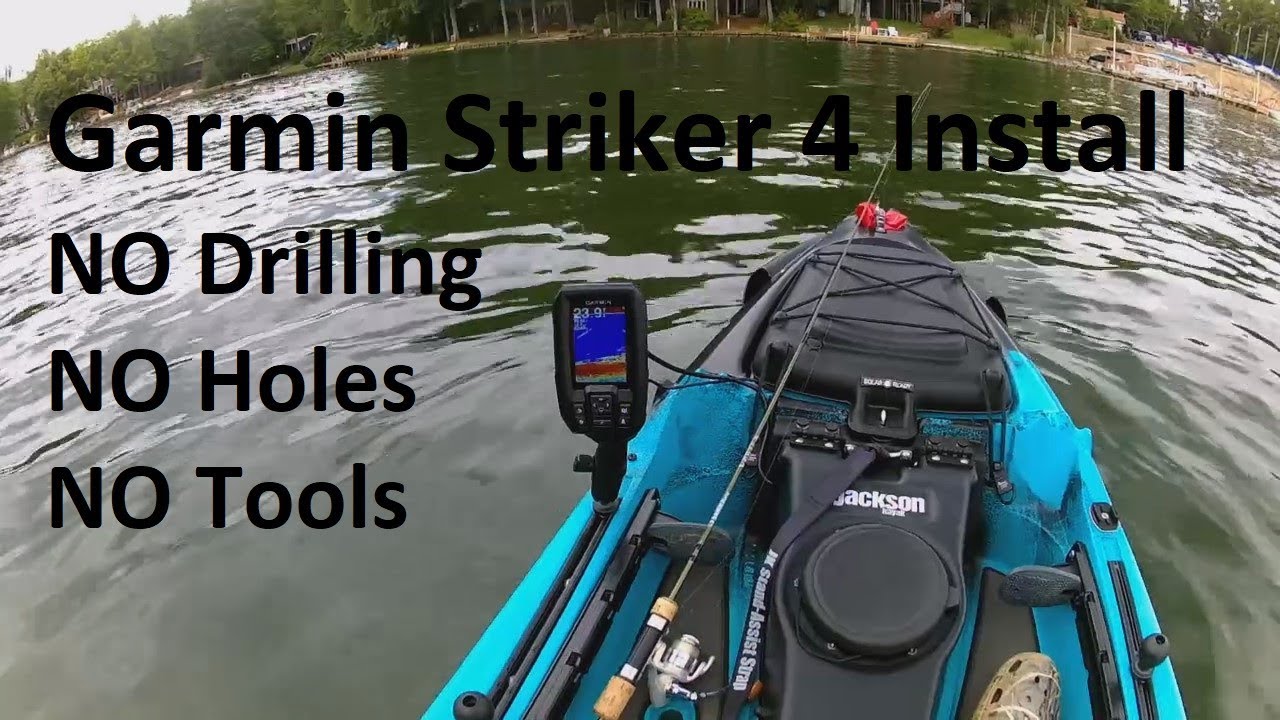
So you’ve finally decided to take your kayak fishing to the next level and invest in a fish finder! But now you’re faced with the challenge of figuring out how to mount it on your kayak. Don’t worry, we’ve got you covered. In this handy guide, we’ll walk you through the process of mounting a fish finder on your kayak, from choosing the right location to securing it in place. Get ready to take your fishing game to new depths with this step-by-step guide.
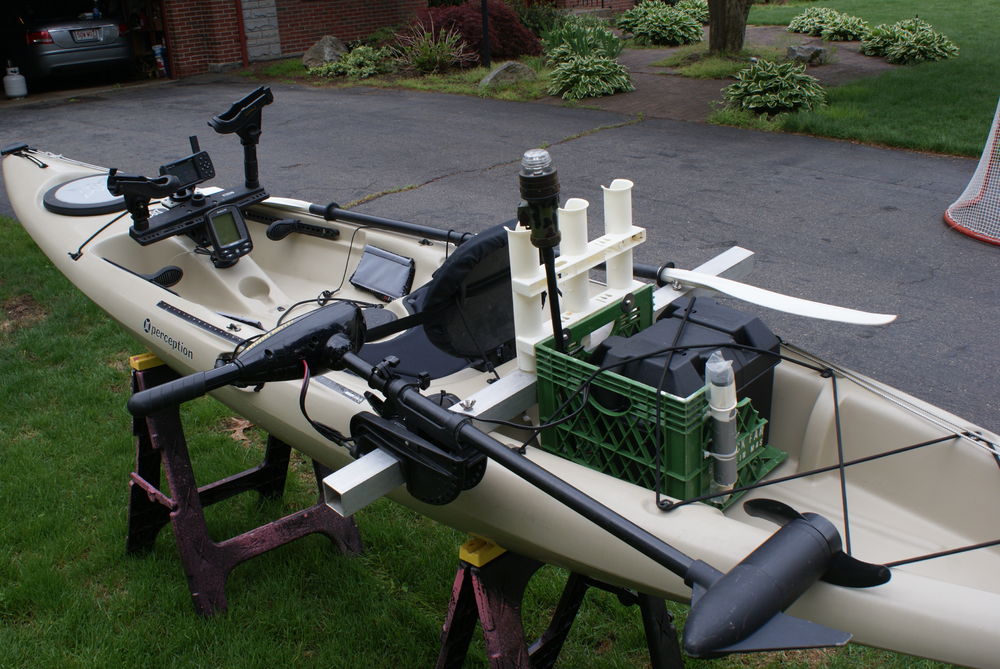
Choosing the Right Fish Finder for Your Kayak
When it comes to choosing a fish finder for your kayak, there are a few factors to consider. The size and weight of the fish finder are important because you want it to be portable and not add too much weight to your kayak. Look for a compact and lightweight option that will easily fit on your kayak without causing any balance issues.
Compatibility with your kayak is another key factor to consider. Make sure that the fish finder you choose is compatible with the type of kayak you have. Some fish finders are designed specifically for certain kayak models, so it’s important to check the compatibility before making a purchase.
The power source requirements of the fish finder should also be evaluated. Consider whether you want a fish finder that runs on batteries or one that can be powered by your kayak’s electrical system. If you choose a battery-powered option, make sure to consider the battery life and availability of replacement batteries.
Lastly, look for a fish finder with a waterproof design. Since you’ll be using it in a kayak, it’s important that the fish finder can withstand water splashes and potential submersion. Look for a fish finder that is specifically designed to be waterproof to ensure its durability in aquatic environments.
Gathering the Necessary Tools and Materials
Before you can start mounting your fish finder on your kayak, you’ll need to gather some tools and materials. Here’s a list of what you’ll need:
- Drill and appropriate drill bits: You’ll need a drill to create holes for mounting the fish finder brackets.
- Stainless steel screws and bolts: These will be used to secure the mounting brackets and arms to your kayak.
- Marine silicone sealant: This will help create a watertight seal when attaching the mounting brackets to your kayak.
- Mounting brackets and arms: These will serve as the base for attaching your fish finder to your kayak.
- Wire cutters and crimping tool: These tools will be needed to connect your fish finder to a power source.
Having all of these tools and materials on hand will make the installation process much smoother and ensure that you have everything you need.
Locating the Ideal Position for Mounting
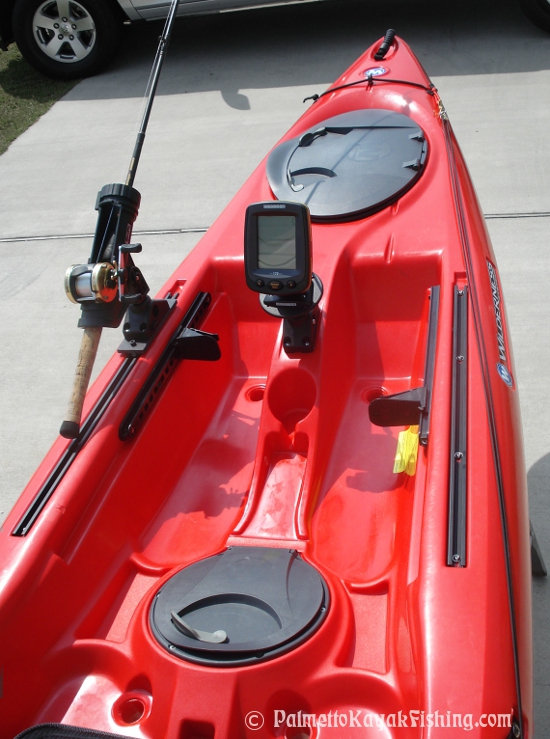
Choosing the right position for mounting your fish finder on your kayak is crucial for optimal performance and convenience. Here are a few factors to consider when locating the ideal position:
First, consider water visibility and accessibility. You’ll want to position the fish finder in a spot that allows you to see the screen clearly while paddling and fishing. It should be easily accessible so that you can operate it without any hindrance.
Next, ensure proper balance and weight distribution. Placing the fish finder too far forward or backward on your kayak can affect its balance in the water. Find a position that maintains the kayak’s stability and doesn’t compromise your paddling experience.
Avoid interfering with paddling and fishing. Make sure that the fish finder doesn’t obstruct your paddle stroke or interfere with your fishing gear. It should be positioned in a way that allows you to move freely and comfortably while on the water.
Lastly, consider the secure mounting surface and accessibility to wiring. Choose a location on your kayak where you can easily attach the mounting brackets and route the wiring without any obstructions. This will ensure a clean and organized installation.
Preparing the Mounting Surface
Before you can attach the mounting brackets to your kayak, it’s important to prepare the mounting surface properly. Here’s how you can do it:
Start by cleaning and drying the surface where you plan to attach the mounting brackets. Use a mild detergent or a boat cleaner to remove any dirt, grime, or residue. Make sure the surface is completely dry before proceeding to the next step.
Next, apply marine silicone sealant to the backside of the mounting brackets. This will create a watertight seal and prevent any water from penetrating the mounting holes. Be generous with the sealant but also ensure that it doesn’t ooze out excessively when the brackets are pressed against the kayak.
Position and align the mounting brackets on the prepared surface. Press them firmly against the kayak and hold them in place for a few minutes to allow the silicone sealant to adhere properly. Double-check the alignment to ensure that the brackets are level and parallel to each other.
Drilling Holes for the Mounting Brackets
To attach the mounting brackets to your kayak, you’ll need to drill holes in the designated locations. Here’s a step-by-step guide on drilling the holes:
-
Measure and mark the hole positions based on the mounting brackets’ spacing requirements. Use a measuring tape or ruler to ensure accurate placement.
-
Start with small pilot holes using an appropriate drill bit. It’s best to start with a smaller bit and gradually increase the size to prevent any splitting or cracking of the kayak material.
-
Gradually enlarge the holes to match the size of the mounting bracket screws. Take your time and let the drill do the work. Applying too much pressure or drilling too quickly can damage the kayak.
-
Once the holes are drilled, smooth the edges using sandpaper. This will prevent any sharp edges that could potentially damage the wiring or your hands during installation.
By following these steps, you’ll have properly drilled holes in your kayak for attaching the mounting brackets securely.
Attaching the Mounting Brackets and Arms
With the holes drilled, it’s time to attach the mounting brackets and arms to your kayak. Here’s how to do it:
-
Place the mounting brackets on the kayak and align them with the drilled holes. Ensure that the brackets are positioned as intended and double-check their alignment.
-
Insert the screws and bolts through the holes in the mounting brackets and into the drilled holes in the kayak. Make sure the screws are snug but not overly tight, as overtightening can damage the kayak or the brackets.
-
Use a wrench or screwdriver to tighten the screws securely. Check that the brackets and arms are stable and properly attached to the kayak.
By following these steps, you’ll have successfully attached the mounting brackets and arms to your kayak, providing a secure base for your fish finder.
Installing the Fish Finder
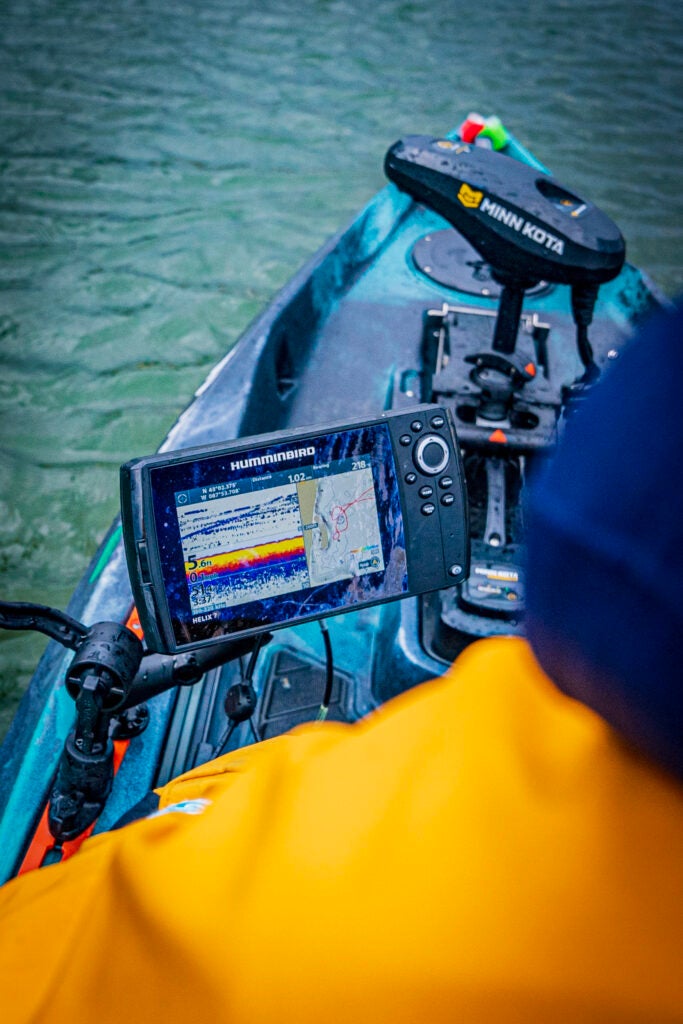
Now that the mounting brackets are in place, it’s time to install your fish finder. Here’s how to do it:
-
Attach the fish finder unit to the mounting brackets by aligning the unit’s mounting holes with the brackets’ screw holes.
-
Secure the fish finder in place by inserting the mounting screws through the unit’s mounting holes and into the holes in the brackets.
-
Use a screwdriver or wrench to tighten the mounting screws securely. Ensure that the fish finder is stable and properly attached to the mounting brackets.
-
Connect the fish finder to a power source according to the manufacturer’s instructions. This may involve connecting wires to your kayak’s electrical system or inserting batteries into the fish finder unit.
By following these steps, you’ll have successfully installed your fish finder on your kayak and it’ll be ready for use.
Routing and Concealing the Wiring
To maintain a neat and organized installation, it’s important to route and conceal the wiring of your fish finder. Here’s how to do it:
-
Plan the wiring path to ensure that it stays clear of any obstructions and doesn’t interfere with your paddling or fishing. Consider following existing channels or tubing on your kayak to conceal the wiring.
-
Use cable clamps or holders to secure the wiring in place. These can be attached to the kayak’s surface or existing fasteners to prevent the wiring from moving or getting tangled.
-
If possible, conceal the wiring within kayak channels or tubing to protect it from potential damage and keep it out of sight. This will also help maintain the overall aesthetics of your kayak.
-
Be careful to avoid pinching or tugging on the wiring when routing it. Ensure that there is enough slack to allow for movement without putting stress on the connections.
By following these steps, you’ll be able to route and conceal the wiring of your fish finder, ensuring a clean and organized installation.
Testing the Fish Finder Setup
Before you hit the water, it’s important to test your fish finder setup to ensure that everything is working properly. Here’s what you need to do:
-
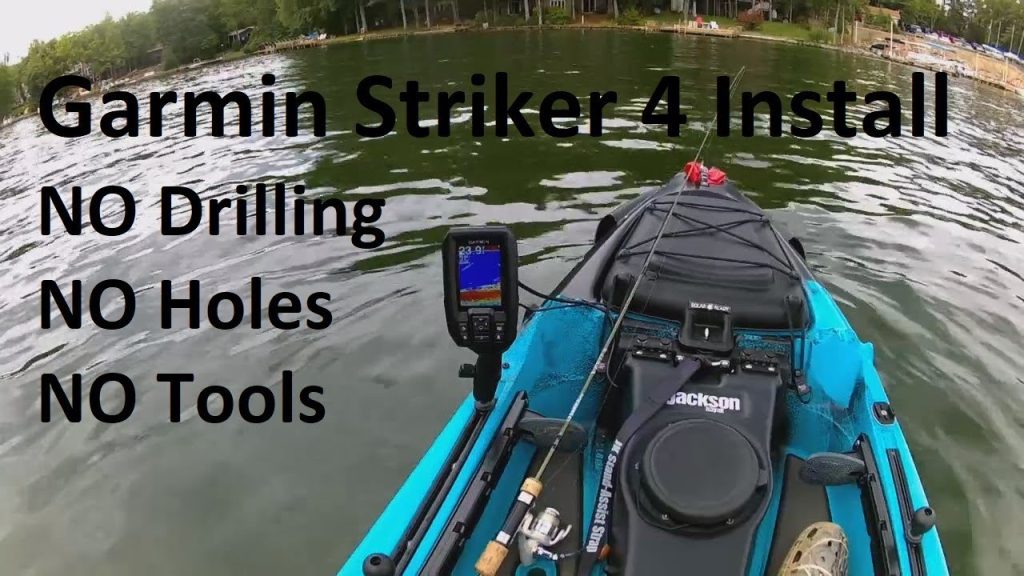
Power on the fish finder and make sure it turns on without any issues. Check the display screen to ensure that it’s clear and shows all the necessary information.
-
Test the fish finder’s functionality by navigating through its menu and settings. Check that all the buttons and functions are responsive and working as intended.
-
If needed, adjust the settings and calibrate the fish finder according to the manufacturer’s instructions. This will ensure accurate readings and optimal performance on the water.
By testing your fish finder setup, you can identify any potential issues or malfunctions before you go out on the water, allowing you to address them beforehand.
Tips and Precautions
To ensure a smooth and successful installation process, here are some additional tips and precautions to keep in mind:
-
Ensure that the fish finder does not obstruct your view while you’re sitting in the kayak. Position it in a way that allows you to see it easily without hindering your visibility.
-
Consider using a transducer mounting arm if your fish finder requires one. This can help improve the accuracy and performance of the fish finder by providing a better underwater scanning angle.
-
Use waterproof wire connectors when connecting the fish finder to a power source. This will help prevent any water damage or corrosion that could affect the functionality of your fish finder.
-
Avoid putting excessive tension on the wiring. Be careful not to pull or tug on the wiring when moving or adjusting the fish finder. Excessive tension can damage the connections or wiring, leading to malfunctions.
By following these tips and precautions, you’ll ensure a successful fish finder installation on your kayak, providing you with a valuable tool for your fishing adventures.

