Contents
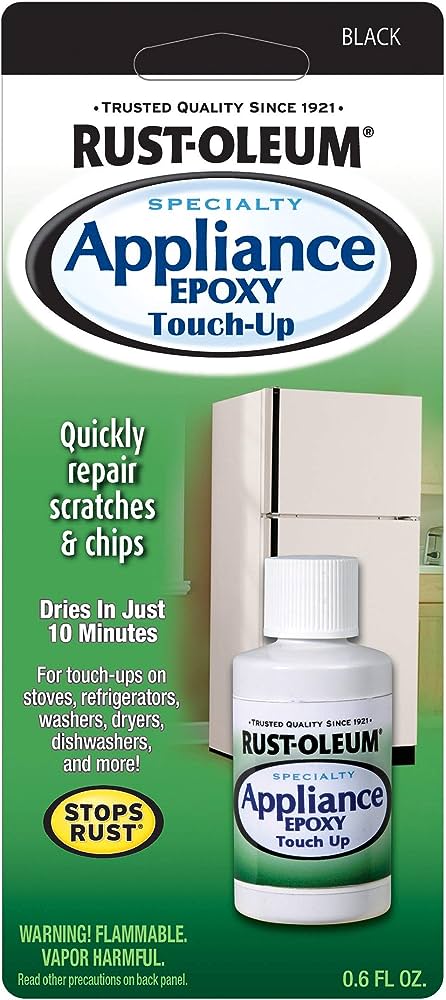
You’ve invested in high-quality appliances for your home, but everyday wear and tear can sometimes leave unsightly scratches or chips. That’s where “Appliance Touch Up Paint: Repairing in Black” comes in. This innovative product is designed specifically to restore the sleek, black finish of your appliances, making them look brand new again. With its easy-to-use application and quick-drying formula, you’ll have your appliances looking flawless in no time. Say goodbye to those frustrating blemishes and hello to a refreshed, polished kitchen with Appliance Touch Up Paint in Black.

Choosing the Right Appliance Touch Up Paint
When it comes to choosing the right appliance touch up paint, there are a few factors you need to consider. The first step is to determine the type of paint you need. Different appliances may require different paint types, so it’s important to get the correct one. You can usually find this information in the appliance’s manual or by contacting the manufacturer. It’s also a good idea to check the label of the paint to ensure it is suitable for touch-up purposes.
Another important factor to consider when choosing appliance touch up paint is the material of your appliance. Appliances can be made of various materials such as stainless steel, enamel, or plastic. Each material may require a different type of paint for optimal adhesion and durability. For instance, stainless steel appliances may require a paint specifically formulated for metal surfaces, while enamels may need a paint that is resistant to chipping and peeling.
Once you have determined the paint type and considered the appliance material, the next step is to check the compatibility of the touch-up paint with your appliance. This involves checking if the paint color matches your appliance and if it is specifically designed for the brand and model you own. In some cases, manufacturers offer touch-up paint that is specifically formulated for their appliances, ensuring a perfect match. Checking the compatibility will help to achieve a seamless finish and make the repaired area blend in with the rest of the appliance.
Preparing the Surface
Before applying the appliance touch up paint, it is important to prepare the surface properly. This ensures that the paint adheres well and the repaired area is smooth and even. The first step in surface preparation is to clean the area thoroughly. Use a mild detergent and warm water to remove any dirt, grease, or grime. Make sure to dry the surface completely before proceeding to the next step.
After cleaning, you may need to sand the surface to create a smoother and more even finish. Sanding is especially important if there are any rough or uneven areas on the appliance. Use a fine-grit sandpaper and gently sand the surface in a circular motion. This will help the paint adhere better and ensure a more seamless repair.
If there is any rust or corrosion on the surface, it is important to remove it before applying the touch-up paint. Use a rust remover or a gentle abrasive to remove the rust completely. Once the rust has been removed, make sure to clean the area again to remove any residue.

Applying the Appliance Touch Up Paint
Now that you have prepared the surface, it’s time to apply the appliance touch up paint. Before starting, give the paint a good stir to ensure that all the pigments are evenly distributed. This will help achieve a consistent color throughout.
Depending on the size of the area to be touched up, you can use a brush, a small foam applicator, or even a fine-tipped paint pen. Choose the appropriate applicator based on the size and shape of the area to be repaired. For larger areas, a brush may be more suitable, while a paint pen can provide more precision for smaller chips or scratches.
When applying the paint, make sure to do so in thin, even coats. It’s better to apply multiple thin coats rather than one thick coat, as this will help prevent dripping and ensure a smoother finish. Allow each coat to dry before applying the next one, following the drying time recommended by the manufacturer.
Drying and Curing Time
After you have applied the touch-up paint, it is important to allow sufficient drying time before using the appliance. Different paints may have different drying times, so it is important to follow the instructions provided by the manufacturer. This will help ensure that the paint sets properly and doesn’t smear or peel off.
In addition to drying time, some paints may require a curing period to fully harden and bond to the surface. This is especially true for heat-resistant paints or paints that are specifically designed for appliances. Follow the recommended cure time to ensure the durability and longevity of the repair.

Buffing and Polishing
To achieve a smooth and polished finish, you can consider buffing and polishing the repaired area. This is especially helpful if there are any slight imperfections or unevenness. Start by smoothing the surface with a fine abrasive or sandpaper. Gently rub the area in a circular motion until it feels smooth to the touch.
After smoothing the surface, you can apply a polish or wax specifically designed for appliances. This will help enhance the shine and provide a protective layer on top of the touch-up paint. Apply the polish or wax using a clean, soft cloth and buff the surface until it shines.
Blending and Concealing Imperfections
Sometimes, touch-ups may not perfectly match the surrounding area. In such cases, blending and concealing techniques can help minimize the visibility of imperfections. Feathering is a technique where you gradually fade the touch-up paint into the surrounding area to create a smoother transition. Use a small brush or sponge applicator to gently feather the paint, blending it into the original finish.
If necessary, you can apply additional coats of touch-up paint to achieve a better match. It’s important to let each coat dry before applying the next one to avoid smudging or smearing. For a more durable finish, you can also consider applying a top coat or clear sealant over the touch-up paint. This will provide an extra layer of protection and ensure that the repair lasts longer.

Maintaining the Repaired Surface
To keep the repaired surface in good condition, it’s important to clean and care for it properly. Use a mild detergent and a soft cloth to clean the surface, avoiding abrasive materials or harsh chemicals that could damage the paint. Regular inspections can help identify any new chips or scratches that may require touch-ups. It’s best to address these issues promptly to prevent further damage.
In some cases, you may need to perform additional touch-ups to maintain the appearance of the repaired surface. Follow the same steps outlined in this article to touch up any new areas or to refresh the existing repair. Regular maintenance will help keep your appliance looking its best and extend its lifespan.
Common Mistakes to Avoid
When dealing with appliance touch-up paint, there are a few common mistakes that you should avoid. One of the biggest mistakes is skipping the surface preparation step. Properly cleaning and sanding the surface will ensure better adhesion and a more seamless repair. Another mistake is applying too thick or too thin coats of paint. Thick coats can lead to dripping and an uneven finish, while thin coats may not provide enough coverage. It’s important to find the right balance and apply multiple thin coats for the best results. Lastly, neglecting the drying and curing time can result in paint that is not fully set and prone to smudging or peeling. Always follow the manufacturer’s instructions for the recommended drying and curing times.

Safety Precautions
When working with appliance touch-up paint, it’s important to take certain safety precautions. Make sure to work in a well-ventilated area to avoid inhaling any fumes or chemicals. If necessary, use a respirator or a mask to protect yourself. Personal protective equipment such as gloves and safety glasses should also be worn to prevent skin contact or eye irritation. Lastly, keep the paint away from any flames or open sources of ignition, as some paints may be flammable.
Professional Touch-Up Services
In some cases, it may be best to consider professional help for appliance touch-up paint repairs. If you are unsure about the process or lack the necessary tools or skills, hiring a professional can save you time and effort. A professional touch-up service can provide expert advice, use specialized tools and equipment, and ensure a high-quality repair. When considering professional services, make sure to choose a reliable service provider with experience in appliance touch-up paint repairs. Look for reviews, ask for recommendations, and inquire about their expertise and guarantees.
In conclusion, choosing the right appliance touch-up paint and properly applying it can help maintain the appearance and functionality of your appliances. By following the steps outlined in this article and taking the necessary precautions, you can successfully repair any chips, scratches, or imperfections. Remember to regularly inspect and maintain the repaired surfaces to keep them looking their best. With the right touch-up paint and proper technique, your appliances can continue to shine and serve you well for years to come.